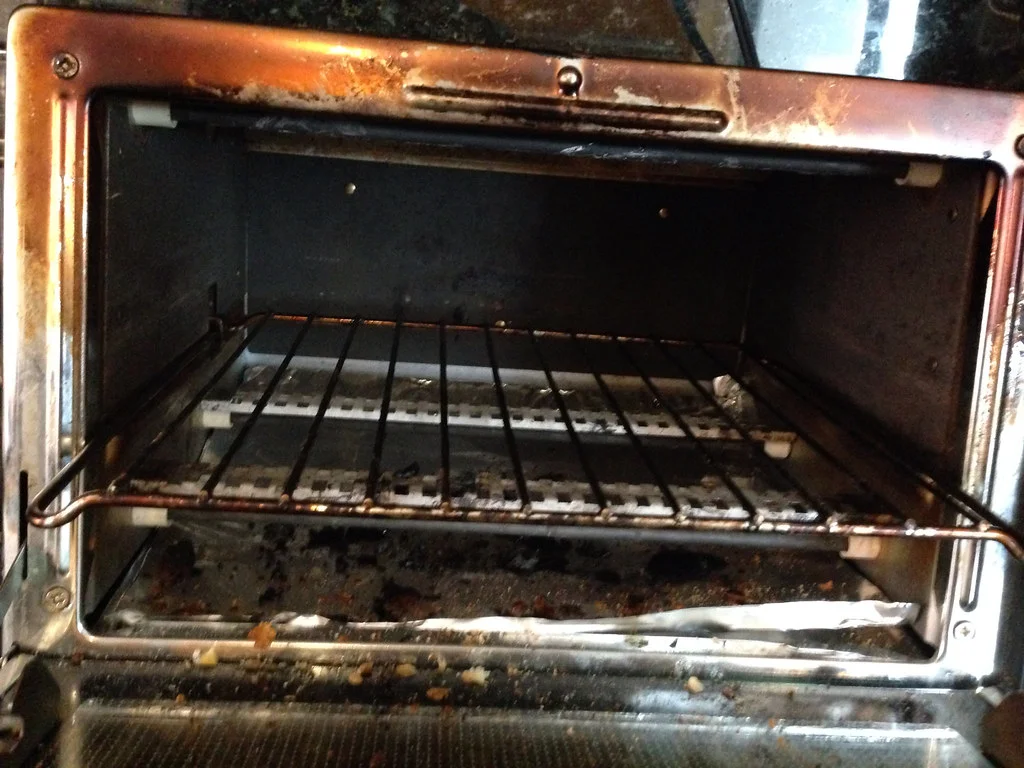
Keeping your oven clean is essential for maintaining its efficiency and ensuring your food tastes its best. Over time, grease, spills, and burnt food can build up, leading to unpleasant odors and even potential safety hazards. The good news? Cleaning your oven doesn’t have to be an overwhelming chore.
In this guide, we’ll walk you through a simple, step-by-step process to clean your oven quickly and effectively. Whether you’re tackling a long-overdue deep clean or just giving it a routine refresh, these 10 easy steps will help you restore your oven to its sparkling best.
Let’s get started and make your oven shine like new!
What Is the Best Way to Clean the Inside of an Oven?
To maintain a clean oven, it’s essential to adopt a routine cleaning habit. After each use, allow the oven to cool slightly and then wipe down the interior with a damp cloth and warm water. This simple step only takes a minute and prevents grease and grime from hardening, saving you from labor-intensive deep cleaning sessions later on.
If daily cleaning feels like too much, aim to clean your oven at least once a week or monthly at the very least. Use warm water mixed with a small amount of dish soap for these sessions. Frequent, light cleaning reduces the buildup of grime and ensures that deeper cleaning tasks are less frequent and much easier to manage.

Is Using Oven Self-Cleaning Safe?
Using the self-cleaning feature on your oven is generally safe, provided the appliance is in good working condition. The self-cleaning process usually takes three to six hours and involves high temperatures, often between 900 and 1,000 degrees Fahrenheit, to burn off leftover food particles. While effective, this method can produce strong odors and, in some cases, release fumes into the air.
To minimize odors, ensure proper ventilation in your kitchen during the cleaning cycle. Open windows or use an exhaust fan to help circulate fresh air. Always refer to your oven’s manual for specific instructions, as the design and operation of self-cleaning features can vary by model. Following these precautions ensures the process is both safe and effective.
How Long Does It Take to Clean an Oven?
Cleaning an oven thoroughly can take anywhere from 13 to 14 hours, but don’t let that number discourage you. The majority of this time is passive, allowing cleaning agents to work their magic. For instance, a baking soda paste typically requires about 12 hours to break down tough grime and residue. This makes it a convenient overnight task, letting you clean while you sleep.
Plan your cleaning schedule carefully, ensuring the oven is not needed for cooking during this period. Starting in the evening after dinner is a good strategy. By the time you wake up, most of the hard work will be done, leaving only the scrubbing and wiping to complete.
Step-by-Step Guide for Cleaning Your Oven

Step 1: Gather Cleaning Materials
To clean your oven effectively, you’ll need the following:
- Baking soda
- Water
- Rubber gloves
- White vinegar
- Spray bottle
- Cleaning rag
Step 2: Remove the Oven Racks
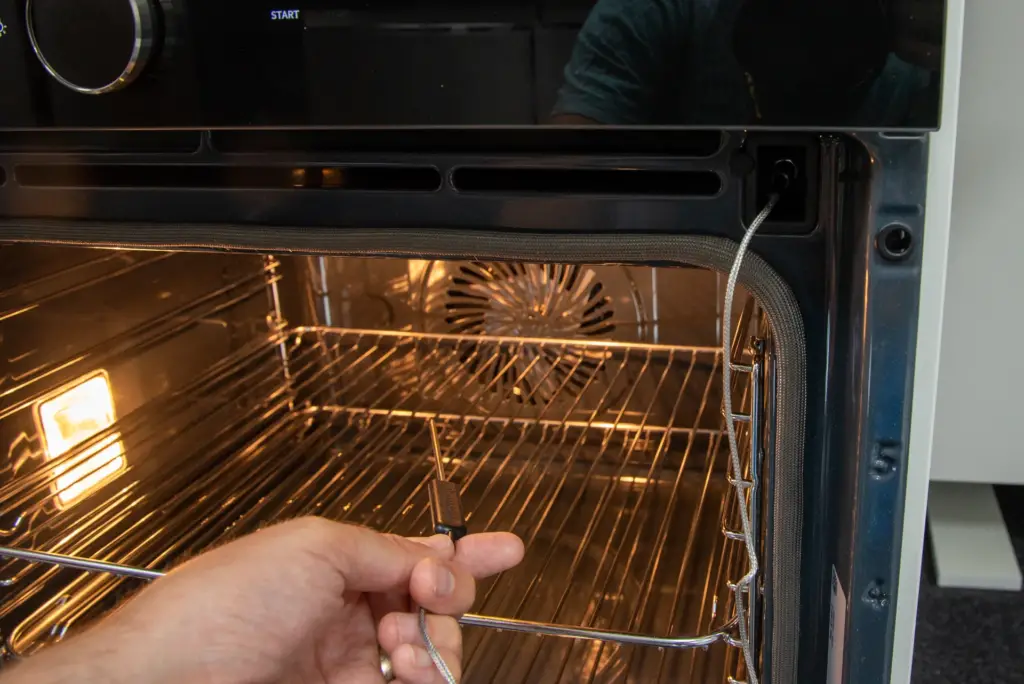
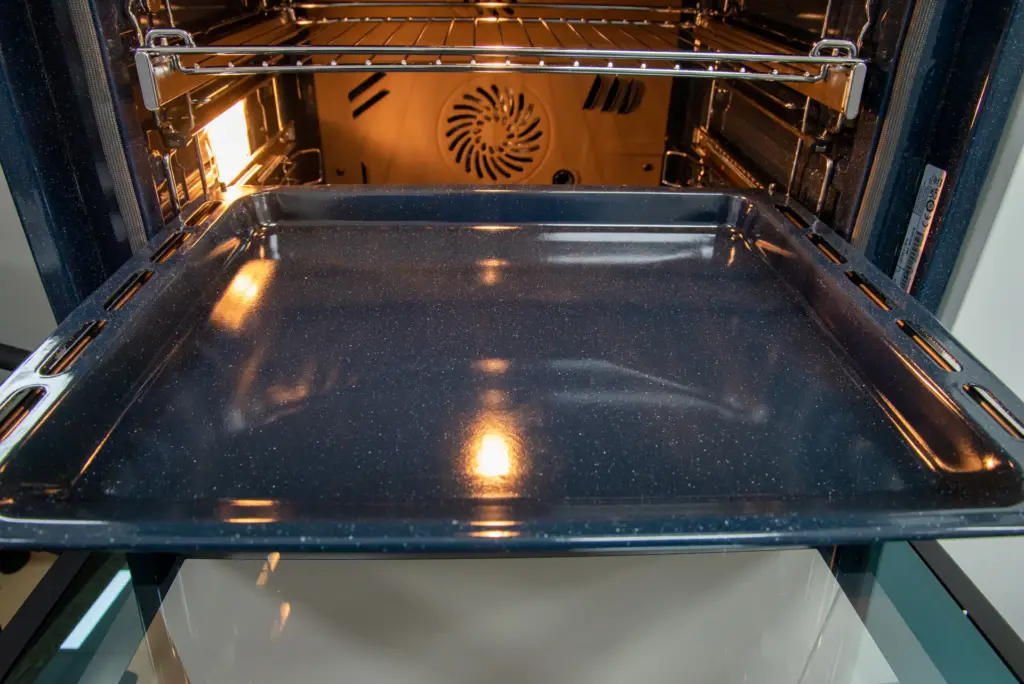
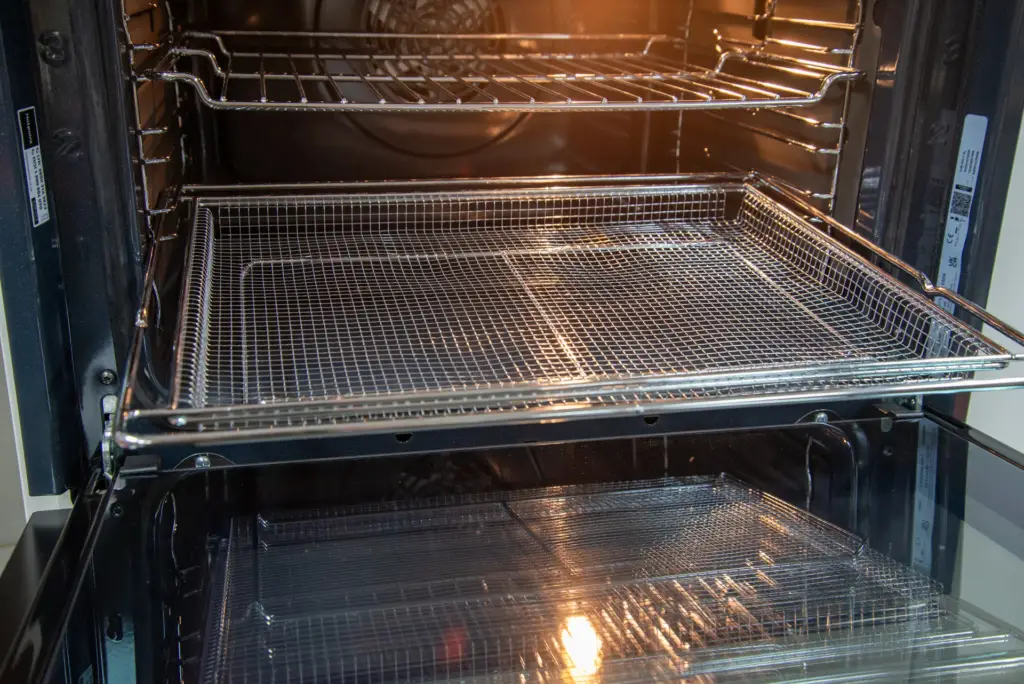
Take out all oven racks and any other removable items, such as thermometers or pans. Place the racks on an old towel or newspaper to avoid transferring dirt to your floors.
Step 3: Make the Baking Soda Paste
Create a cleaning paste by mixing equal parts baking soda and water. Typically, half a cup of each is sufficient, but you can adjust the quantity as needed. The paste should be thick enough to spread easily.
Step 4: Apply the Cleaning Paste
Using rubber gloves, spread the baking soda paste evenly across the oven’s interior surfaces, avoiding the heating elements. Focus on heavily soiled areas, and don’t worry if the paste is applied unevenly. It will turn brown as it reacts with grease.

Step 5: Let the Paste Sit
Allow the paste to work for at least 12 hours. During this time, it will break down grease and grime, making them easier to remove later.
Step 6: Clean the Oven Racks
Soak the oven racks in hot water for at least two hours. For stubborn grime, add a quarter cup of unscented castile soap to the water. Use a bathtub lined with towels to prevent scratches. After soaking, scrub the racks with a brush, rinse them thoroughly, and let them dry.
Step 7: Wipe Off the Baking Soda Paste
After 12 hours, use a damp cloth to remove the baking soda paste and loosened grime. For stubborn spots, a spatula or scraper can be helpful. Avoid using abrasive scouring pads, which could damage the oven’s surface.
Step 8: Spray Vinegar Inside the Oven
Fill a spray bottle with white vinegar and mist the oven’s interior. The vinegar reacts with any remaining baking soda, creating a foaming action that helps lift residual dirt. Wipe down the surfaces with a clean cloth.
Step 9: Clean the Oven Glass
To clean the glass door, apply a fresh batch of baking soda paste and let it sit for 30 minutes. Wipe away the paste with a damp cloth or paper towel, revealing a sparkling surface.
Step 10: Wipe Down Oven Doors and Knobs
Finish the process by cleaning the oven’s exterior. Mix equal parts white vinegar and water, spraying the solution onto a rag before wiping. Avoid spraying directly onto knobs or control panels to prevent moisture from entering sensitive areas. Buff the surface with a microfiber cloth for a streak-free finish.
By following these steps, you can achieve a spotless oven while maintaining safety and efficiency. Regular cleaning ensures your appliance remains in excellent condition, ready for all your cooking needs.

